Salt, bag, time, system. The chamber vacuum method end to end.
Three Field Notes covered the variables one by one. Salt sets the chemistry. The bag delivers the pressure. Time runs the biology. This Field Note is the protocol that uses all three.
It is the longest piece in the series. There is a reason. Most home fermentation failures happen between the steps, not in them. The protocol matters as a sequence. Print this, cook from it, and by Wednesday you will have a working chamber ferment on the bench.
This is the Neutral Base Method. The base is plain shredded cabbage with salt. Neutral because nothing else goes in. Once the system is running cleanly, everything else, the spice variations, the flavour combinations, the regional traditions, sits on top of the same base. Get the base right and the rest follows.
What you need before you start
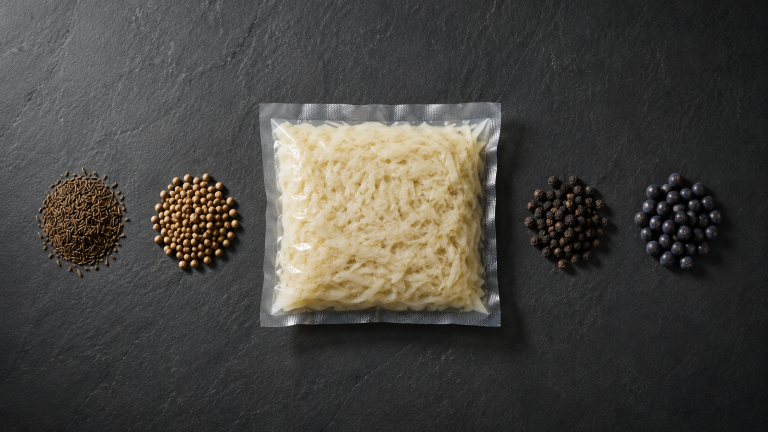
Equipment first. A chamber vacuum sealer, not an edge sealer (the cheap clamp-down kind). A chamber machine pulls a strong, even vacuum across the whole bag, and it is the only practical setup for this protocol. It does not have to be top-of-the-line. A mid-range home-use chamber handles 250-gram batches as easily as full two-kilogram runs. A future Field Note will cover specific gear and the trade-offs to know about. Compostable chamber vacuum bags. I prefer them on environmental grounds and because they have held up cleanly across hundreds of cycles in my kitchen. A digital scale accurate to one gram. A large mixing bowl. A sharp knife or mandoline. Optional but useful: pH strips or a meter.
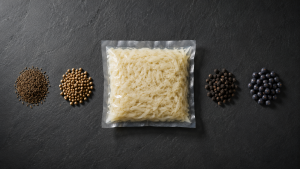
Ingredients. One whole green cabbage, fresh, outer leaves sound. Non-iodised salt (sea salt, kosher salt, or pure rock salt). Iodised table salt slows lactic acid bacteria and is the most common avoidable error in home ferments. That is the entire shopping list for the Neutral Base.
Bench setup. Clear a working surface. The chamber sealer needs its own footprint and a power point. The bag will sit at room temperature for several days after sealing, so identify a spot now where it can rest at 18 to 22 degrees Celsius, out of direct sunlight, undisturbed. The kitchen bench works. A garage in summer does not.
The protocol, ten steps
1. Choose your cabbage. Fresh, dense, anywhere from 250 grams to two kilograms. The protocol scales cleanly across that range. What matters is the 2% salt ratio, a chamber large enough for the bag, and headroom in the bag for the gas to expand. Remove the outermost two leaves and set them aside, you will use them later. Cut the cabbage in quarters and trim out the hard core. The core is fibrous, slow to ferment, and shifts the texture of the finished product if you leave it in.
2. Shred. Three to five millimetre shreds, by knife or mandoline. Consistency matters here. Thick shreds ferment unevenly, thin shreds go soft. The chamber vacuum cycle works best on a substrate that has surface area without being shredded into mush. If you want a kraut-style finish, shred fine. If you want a crunchier ferment for cooking applications, shred coarser.
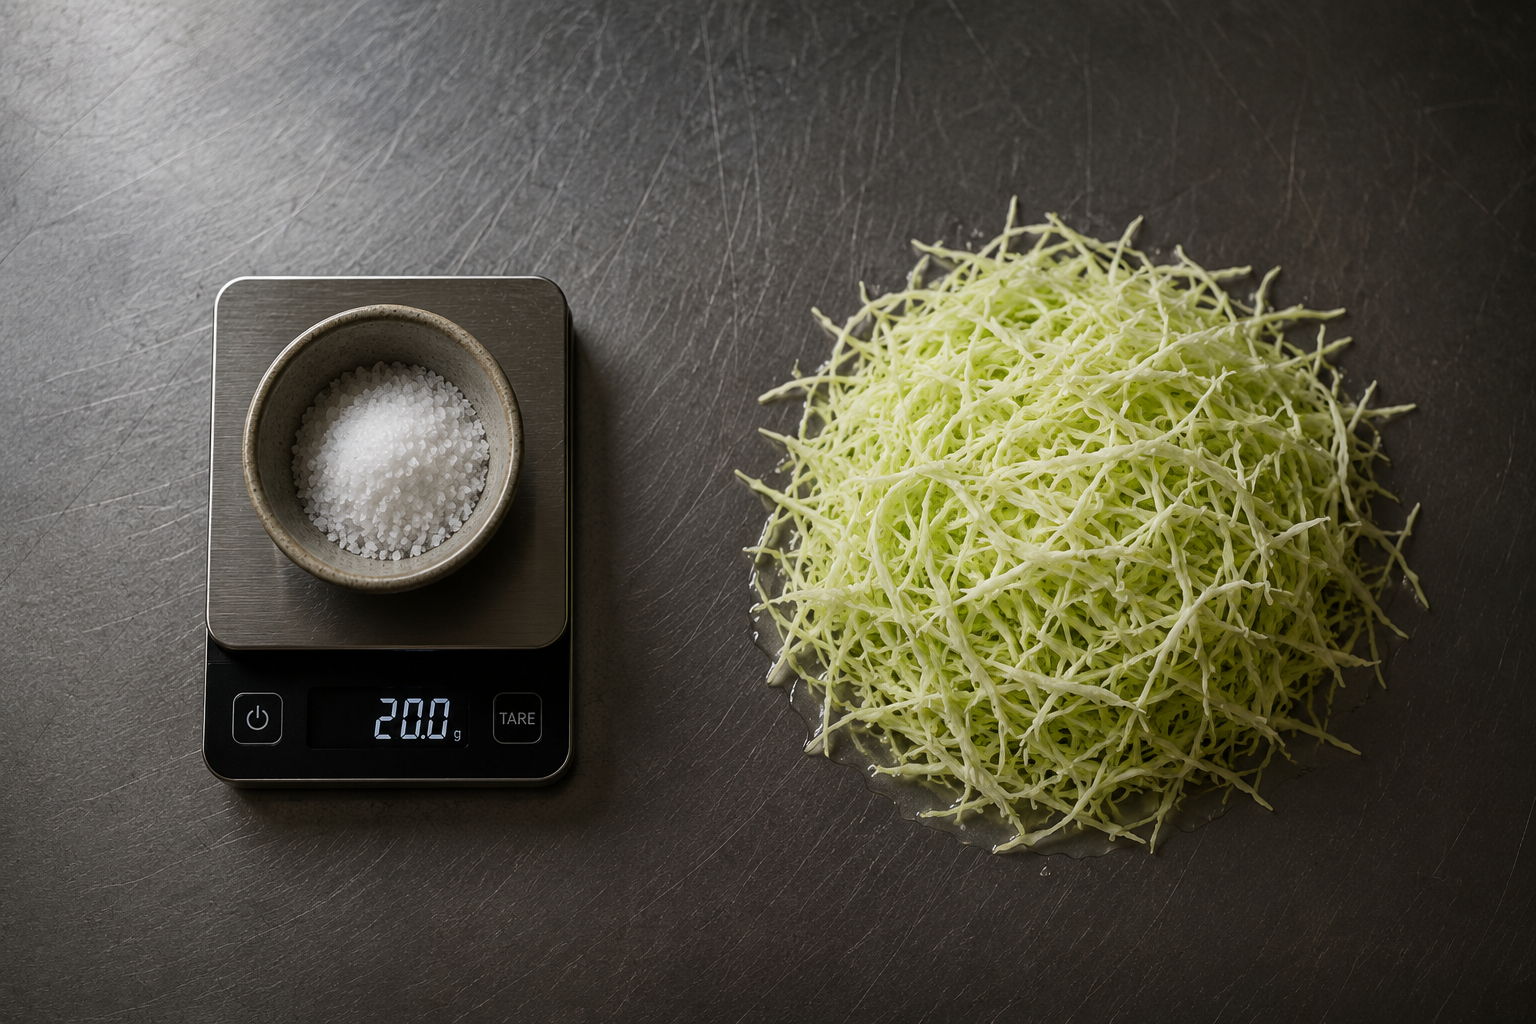
3. Weigh. Move the shredded cabbage into your mixing bowl on the scale. Zero the scale with the bowl, then read the total weight in grams. This number drives the entire system. Write it down. Salt is calculated from this number to the gram.
4. Salt at 2%. Multiply your cabbage weight in grams by 0.02. That is your salt weight, exactly. A one-kilogram batch needs 20 grams of salt. A 250-gram batch needs 5 grams. Below 1.5% the wrong species get a foothold and the ferment goes soft and off. Above 2.5% lactic acid bacteria slow down and the timing curve stretches out. The 2% mark is the locked house rule for the Neutral Base, the precision matters more than the size of the batch.
5. Massage until the brine releases. Sprinkle the salt evenly across the cabbage and start working it in with your hands. Five to ten minutes. The cabbage will resist for the first minute or two, then soften, then start releasing water. By the time you stop, there should be a visible layer of brine pooling at the bottom of the bowl. The cabbage volume should have dropped by roughly a third. This is the salt drawing water out through the cell walls, which is exactly what you want.
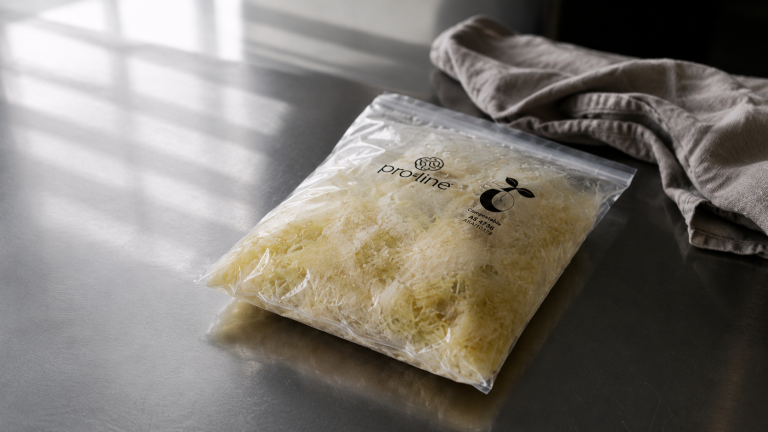
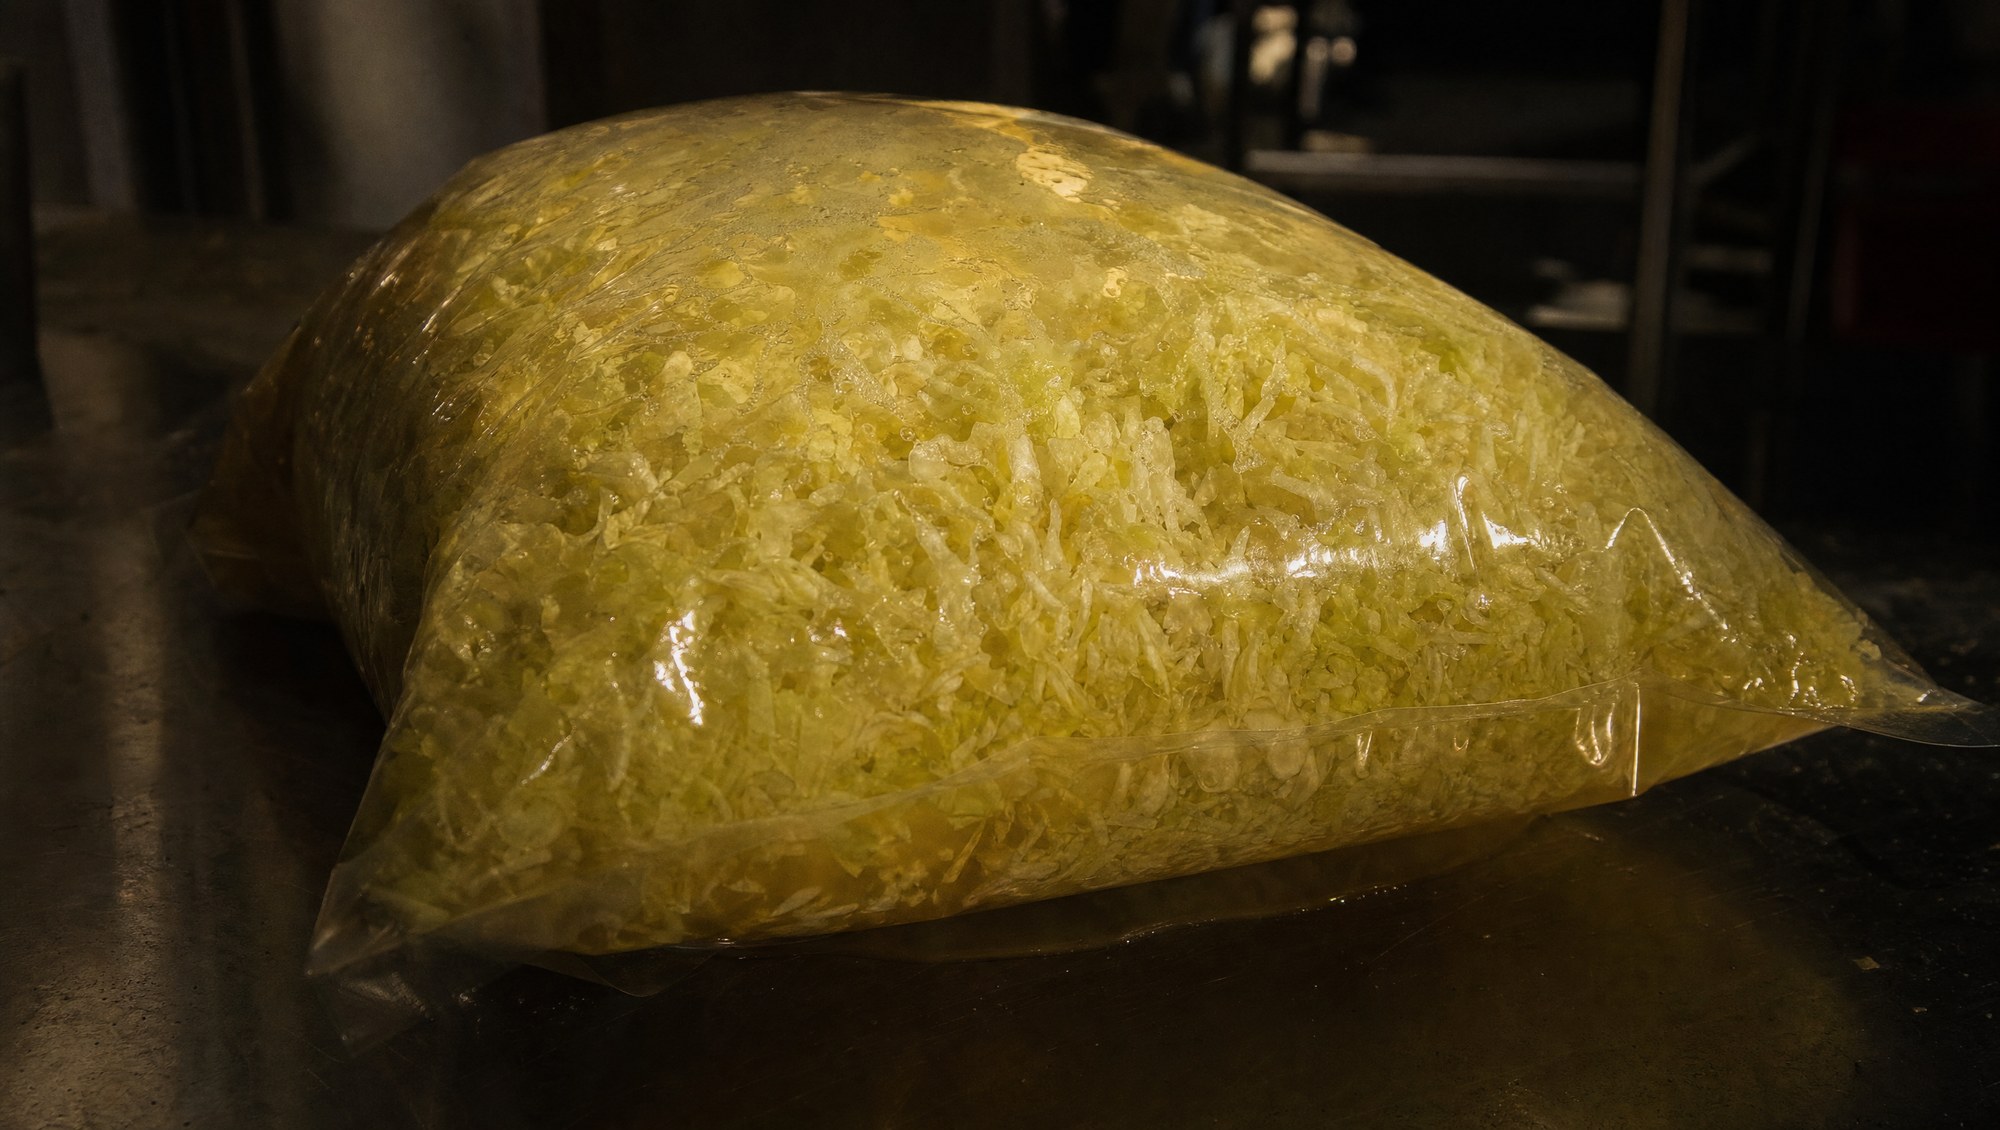
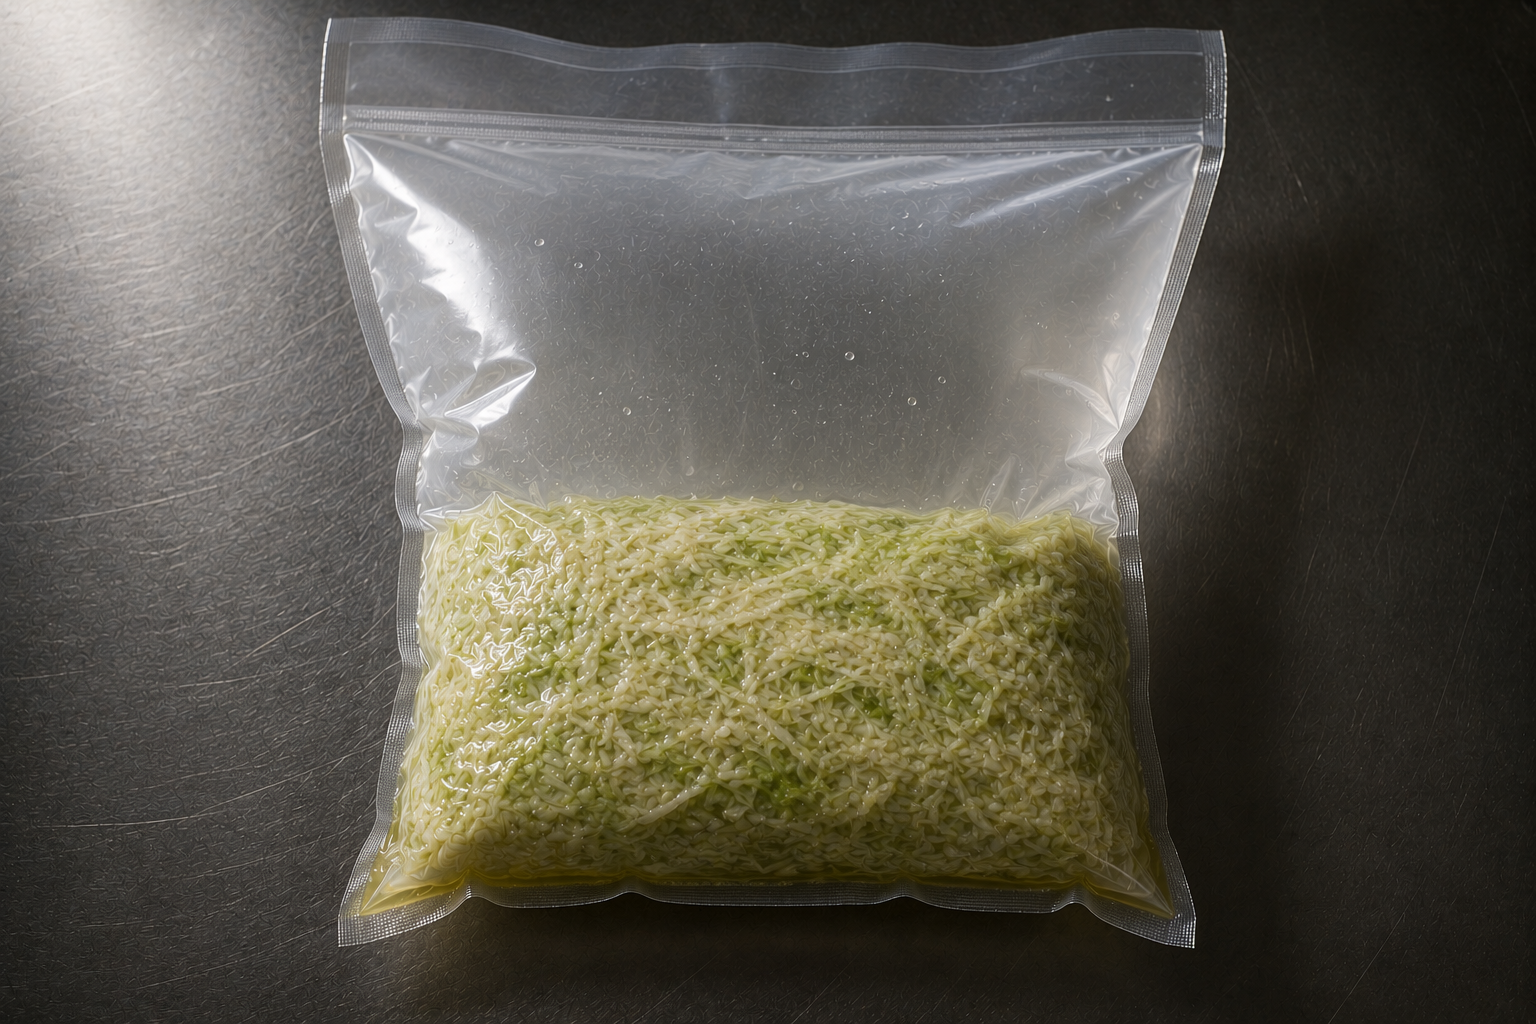
6. Bag selection and loading. Use a chamber vacuum bag sized 1.5 to 2 times larger than the contents. A one-kilogram batch sits comfortably in a 30 by 40 centimetre bag. A 250-gram batch needs proportionally less. Before you fill, fold the top edges of the bag outward by a few centimetres, like rolling down the cuff of a sleeve. This keeps the seal area clean and dry while you load. Pour the cabbage and brine into the lower two thirds of the bag. The upper third is headspace, where the carbon dioxide goes during fermentation. Unroll the cuff, then wipe any brine off the upper third with a paper towel before sealing. The seal bar cannot fuse plastic that has liquid on it.
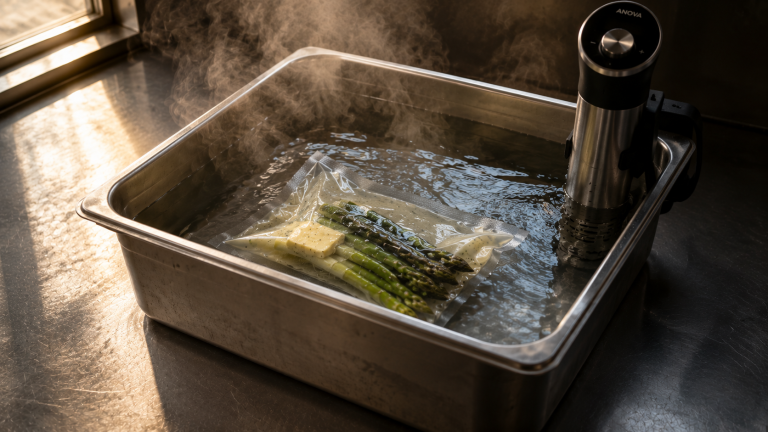
7. Chamber seal. Lay the bag flat in the chamber. The open end of the bag must extend at least five centimetres past where the seal bar lies, and no contents should touch the seal area. Close the lid. Set the vacuum to its strongest setting and run a full cycle. If your chamber offers a double-seal option, use it. The second pass adds a few seconds of welding to the seam and makes it significantly more durable under sustained gas pressure later.
What the strong vacuum is doing, in one line: it pulls almost all the air out of the bag and forces the brine into the cabbage cells. The technical version is “atmospheric pressure drops to about a quarter of normal,” which sounds clinical but the practical effect is simple. Brine reaches inside the plant tissue that traditional surface fermentation can only access slowly. You do not need to know the kPa numbers. You do need to know that a strong vacuum is what makes the chamber method work.

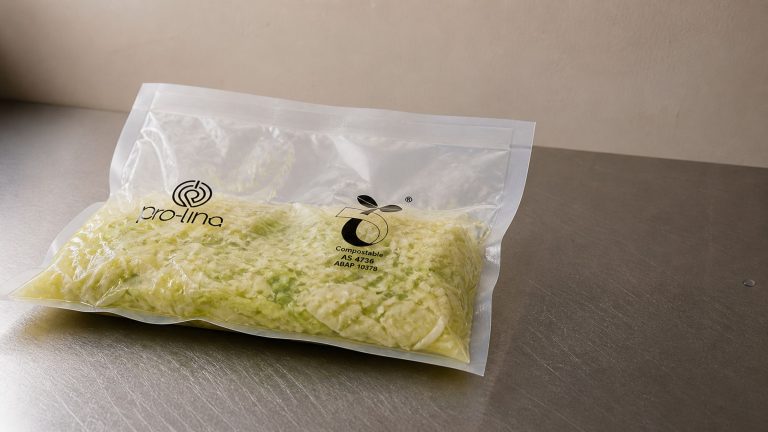
8. Bench rest at 18 to 22 degrees Celsius. Place the bag flat on the bench, out of direct sunlight, in a spot you can monitor. This is the days-not-weeks stage. Watch points: the bag is flat at hour one, biology is cold. By hour twelve, the bag may puff slightly as the first wave of lactic acid bacteria (Leuconostoc mesenteroides) produces carbon dioxide. By hour thirty, the bag often becomes taut, the transition where the tougher second wave (Lactobacillus plantarum) takes over. By day five, the bag relaxes slightly. The system has stabilised and you are in the slow flavour-development phase.
A flat bag is not a failed bag. The amount of visible puffing depends on how many wild lactic acid bacteria were on the cabbage to start with, and on the bacterial population of the room itself. Kitchens that ferment regularly develop a house culture, the way cheese caves and sourdough kitchens do. Your first batch may sit quiet. Your tenth batch in the same kitchen will probably puff harder. Pull and taste regardless, the biology runs whether the bag is dramatic about it or not.
9. Taste and pull. The Time Field Note covered this in detail. Three days gives you a light, sharp, fresh ferment for raw applications. Seven days gives you a rounded, deeper-acid kraut for cooked applications. Fourteen days gives you full complexity, deep umami, charcuterie pairing. Open the bag carefully, taste, and decide based on flavour, not the clock. If you are running your first batch, pull at day five or six. That gives you a safe, recognisable kraut, and you will have a sensory baseline for the next batch.
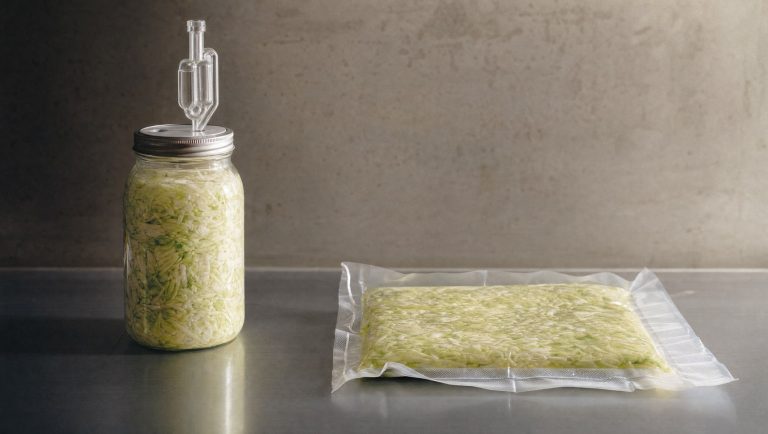
10. Sanitise the jar, then refrigerate. Transfer the ferment to a clean glass jar with a non-reactive lid, or leave it in the bag if you are using it within the week. If you are transferring, sanitise the jar first. I use Star San, a food-safe acid sanitiser sold at homebrew shops, diluted per the bottle instructions and applied with a spray bottle. It rinses cleanly, does not need to be wiped off, and protects the live bacteria in the ferment from being shocked by surface contamination on the jar. Below 4 degrees Celsius the biology slows to a near halt. The ferment continues to develop slowly for another week or two in the fridge before the flavour profile stabilises completely. Properly run, the Neutral Base holds for three to six months refrigerated.
The three places the system fails
Most failures cluster at three points in the protocol. None of them are mysterious. All of them are the operator, not the biology.
Step 4, the salt. Either iodised salt slowing the bacteria, or weighing inaccurately and ending up outside the 1.5 to 2.5% safe band. A 50-gram error on a one-kilogram batch is a 5% salt deviation, which is enough to push you out of the working range. Buy non-iodised salt. Weigh to the gram. The 2% number is locked for a reason.
Step 7, the seal. Either brine on the seal area when you closed the lid, or a single seal that fails under gas pressure two days in. A slow leak lets oxygen back in and the bag stops working. Wipe the seal area dry. Use the double-seal option if your machine offers it. Fold the cuff before you load the bag.
Step 8, the temperature. Either too warm (above 28 degrees, where the wrong species compete and the flavour goes acetic and sharp) or too cold (below 15 degrees, where the early phase stretches out and you lose timing predictability). A consistent benchtop at 20 to 22 degrees is the working zone. A swinging temperature is the most common timing issue in home ferments.
If a batch fails, it is almost always one of these three. Trace back through 4, 7, 8 before you blame the bag, the cabbage, or the moon phase.
What you have built
At the end of the protocol you have a Neutral Base. Roughly 700 to 800 grams of fermented cabbage from a one-kilogram batch (the original mass shrinks during fermentation as liquid releases and gas escapes), pH safely below 4.6, sharp, sour, alive with three to five distinct lactic acid bacteria strains depending on how long you fermented it. A 2007 paper in Applied and Environmental Microbiology tracked the species rotation in detail across traditional and bag fermentations and found the same succession in both. The Neutral Base is the home-kitchen version of that exact biology.
The base is the substrate. It is the platform everything else sits on. Without changing a single step of the above protocol, you can take this same base and turn it into:
Sauerkraut, by adding caraway and juniper at serving. Kimchi-style ferment, by serving with a chilli, ginger, and garlic dressing. A neutral acid garnish for rich dishes. The base of a coleslaw, with a fresh chopped variety folded through. The foundation of a fermented vegetable stock. The substrate for cultured condiments. The list is long because the base is, by design, neutral.
And cabbage is not the only substrate that benefits from this method. Carrots, daikon, beetroot, fennel, cucumbers, most firm vegetables ferment cleanly in a chamber bag with the same 2% salt ratio. Once you have the cabbage protocol locked, the world of ferment-friendly ingredients opens up. The technique transfers. The base does not have to.
What comes next
This Field Note closes the chamber vacuum series. Four pieces, four variables, one working method. From here, the Field Notes pivot. The next arc covers the Inner Ecosystem, what the bacteria in a finished ferment do once they meet your gut microbiome, and how the protocol you just learned ties into nervous-system regulation, recovery, and energy management.
If you want the longer, more thorough version of the method above, the full Chamber Vacuum Method Guide is in development. It covers everything in this Field Note plus the advanced variations, the troubleshooting decision tree, the regulatory and food-safety framework, and a developing library of recipes that all build off the Neutral Base. It launches later this year. If you want a heads-up when it opens, drop me a line and I will add you to the early notification list.
Come back next Monday for the first Field Note in the new arc.
References
Show references
- Plengvidhya V, Breidt F Jr, Lu Z, Fleming HP. DNA fingerprinting of lactic acid bacteria in sauerkraut fermentations. Applied and Environmental Microbiology. 2007;73(23):7697-7702. doi:10.1128/AEM.01342-07
- Bautista-Gallego J, Medina E, Sánchez B. Role of lactic acid bacteria in fermented vegetables. Grasas y Aceites. 2020;71(2):e358. doi:10.3989/gya.0344191
- Romero C, García-García P, Sánchez AH. Effect of vacuum impregnation on physical changes during table olive processing. Grasas y Aceites. 2022;73(4):e484. doi:10.3989/gya.0676211 (open access, CC-BY)
- Tamang JP, Watanabe K, Holzapfel WH. Review: diversity of microorganisms in global fermented foods and beverages. Frontiers in Microbiology. 2016;7:377. doi:10.3389/fmicb.2016.00377
The food-safety floor of pH 4.6 and the 2% salt working range used in this Field Note are standard parameters in vegetable lacto-fermentation. They appear in FDA and FSANZ guidelines for fermented vegetable products and in culinary microbiology references rather than in any single primary source.
Field Notes Weekly
One Field Note. Every Monday. Mechanism first, no wellness language.