Chamber vacuum fermentation vs. airlock jars: the pressure physics that change what your ferment produces
The moment it became obvious
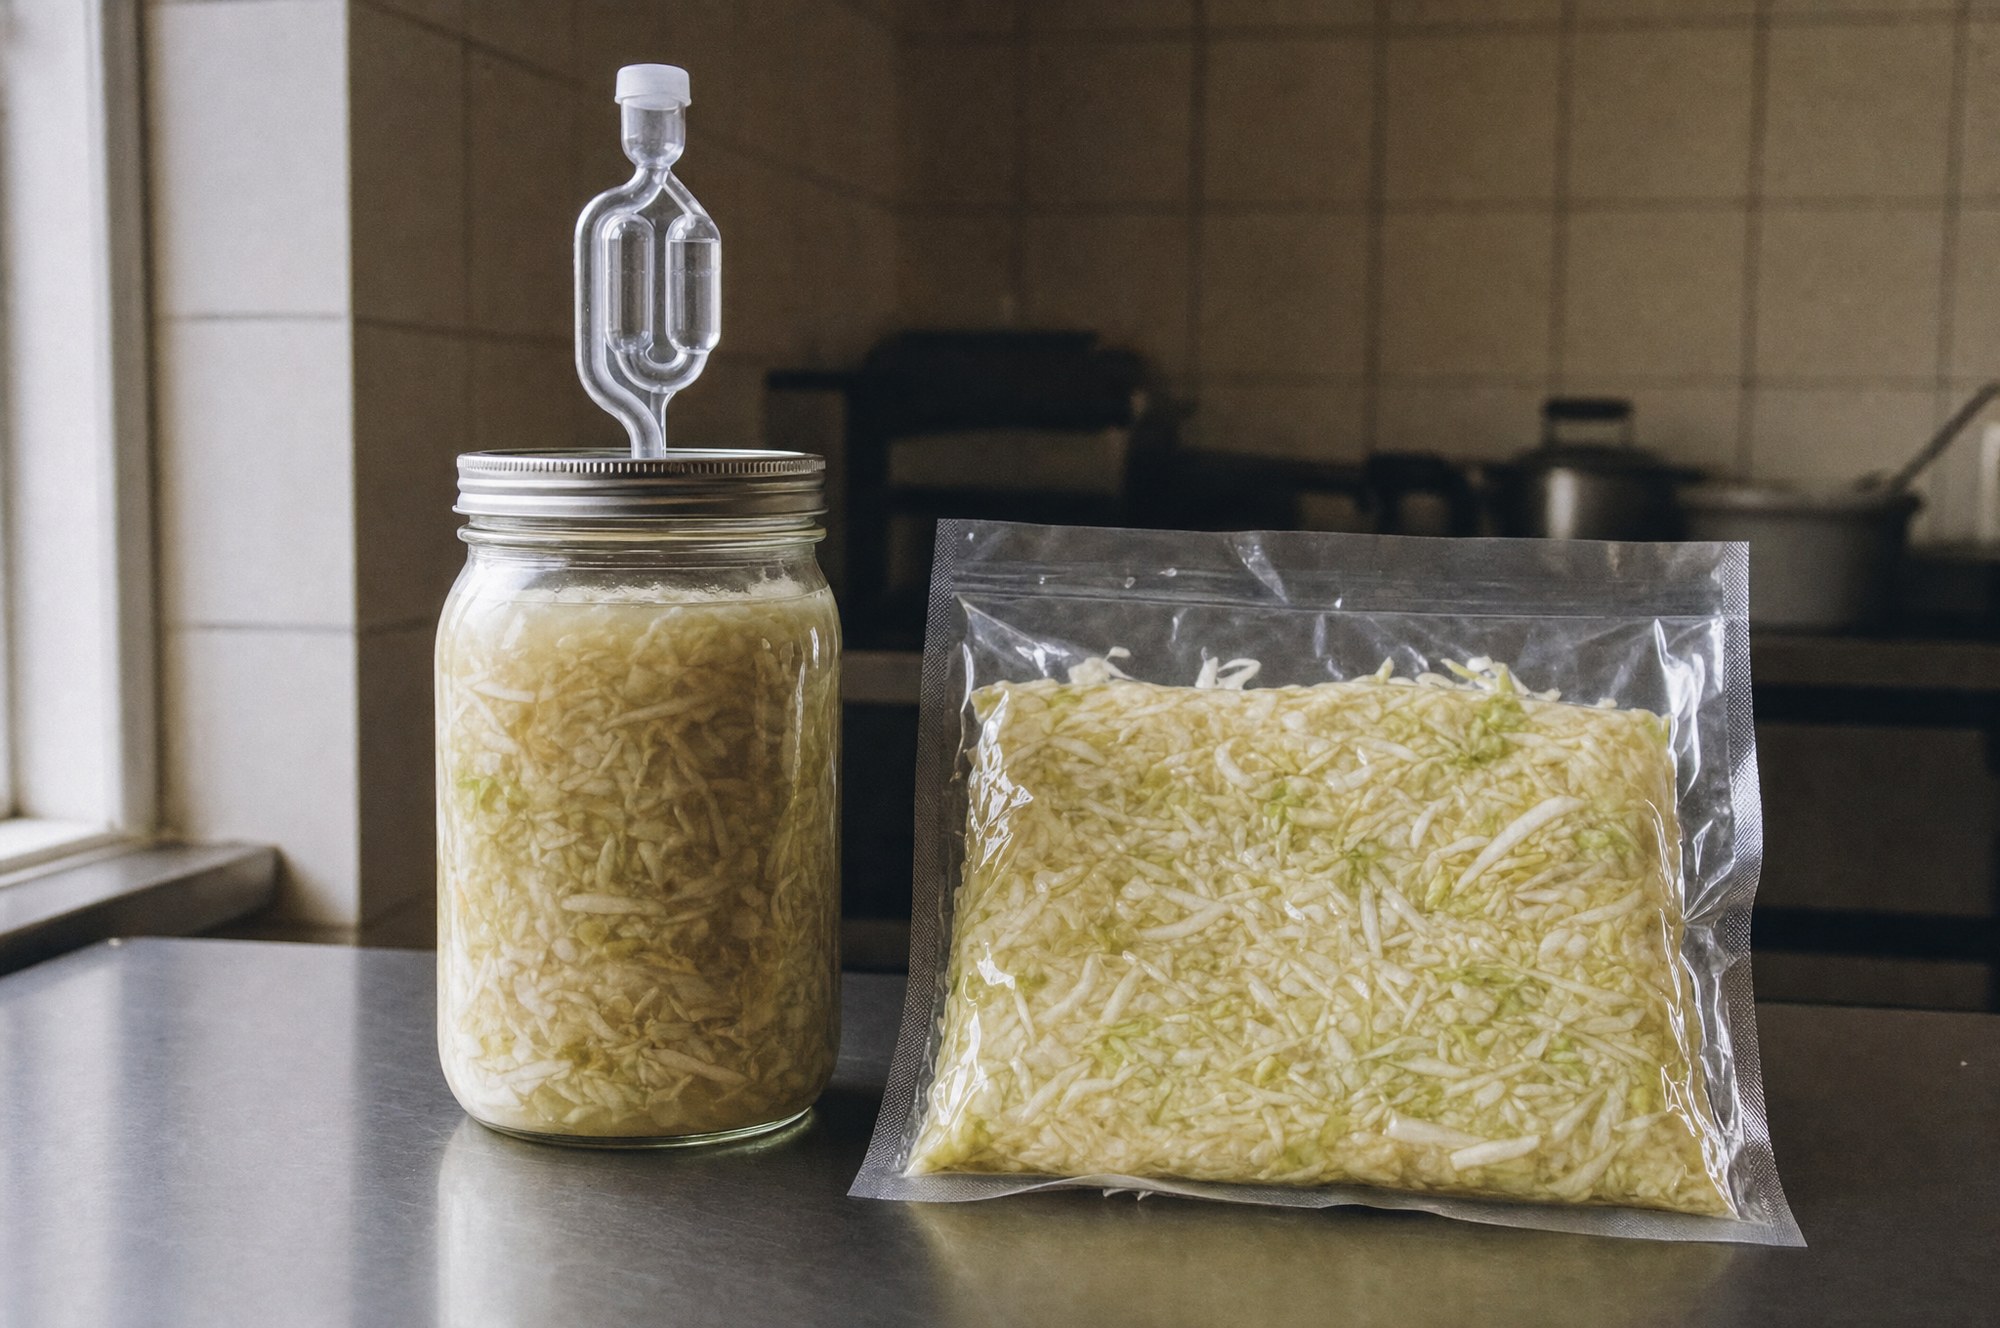
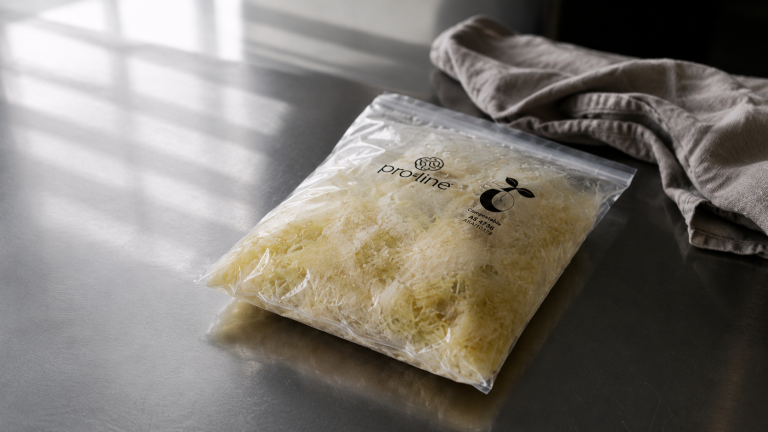
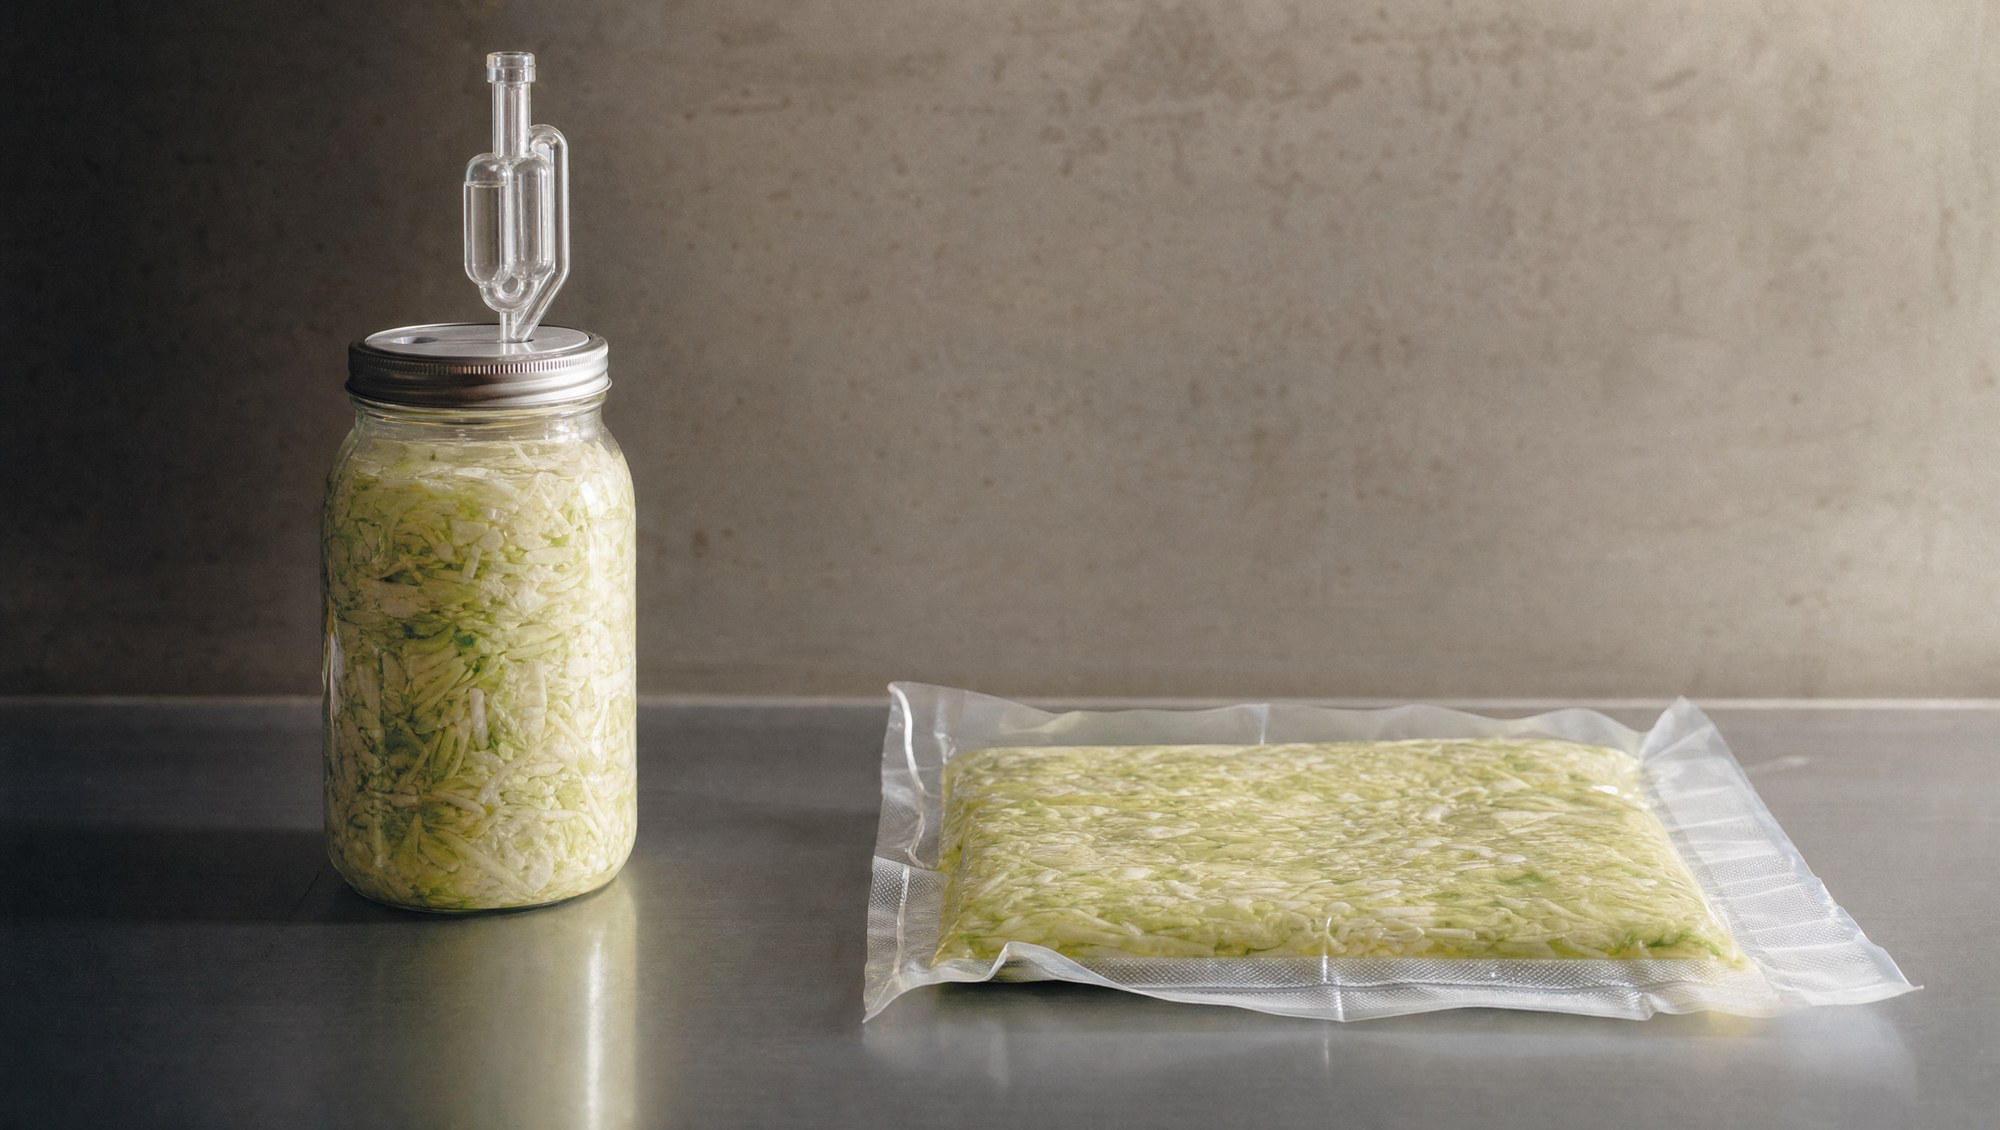
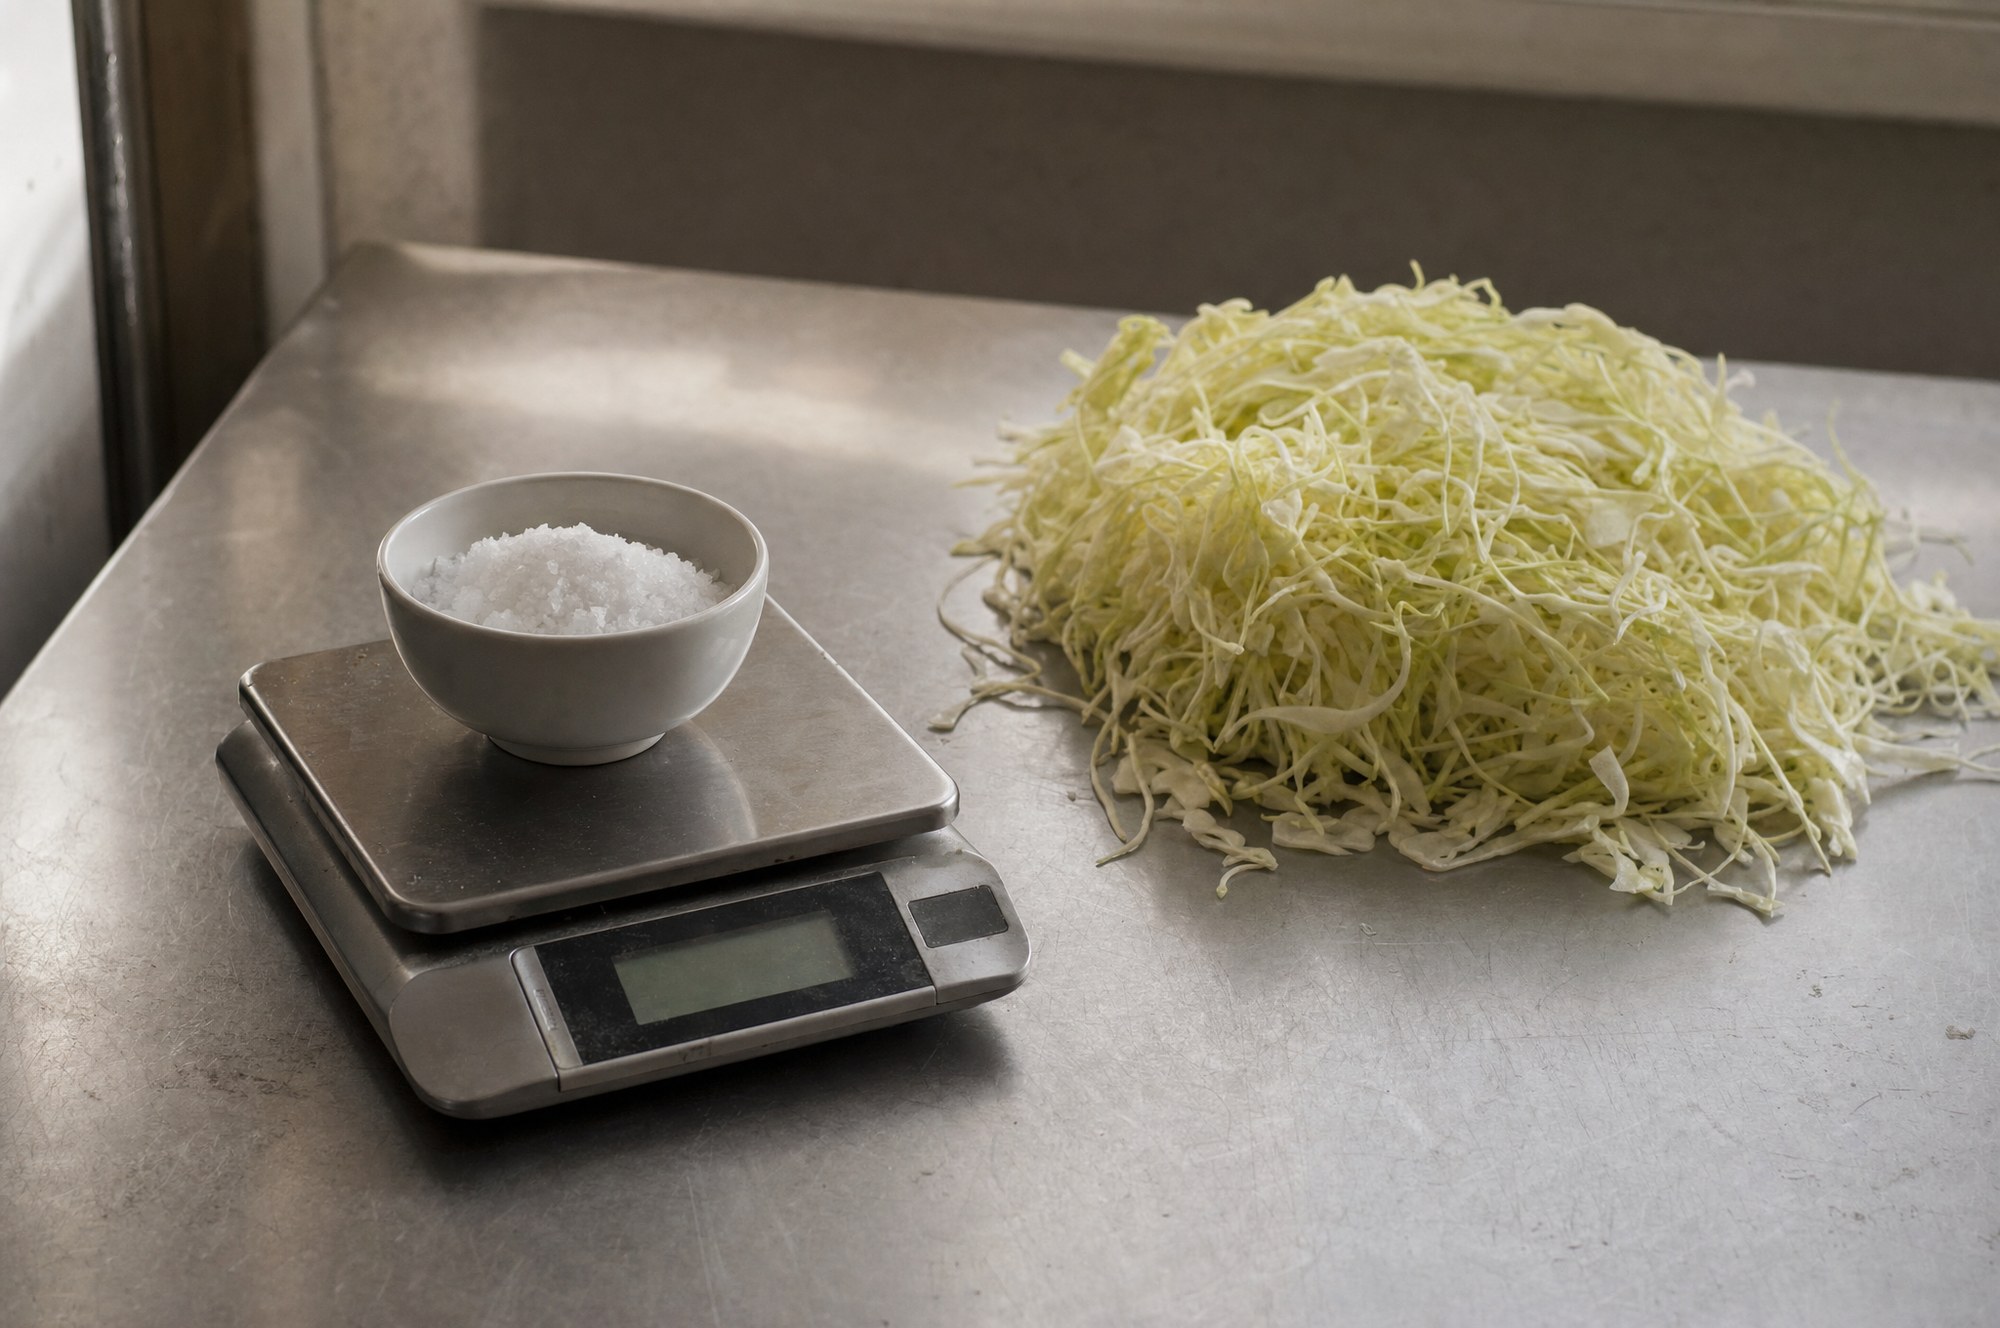
The jar on the left had been sitting on the bench for four days. Kraut, salt, water, weight. The standard setup, a good airlock lid, ambient temperature around 22°C, the faint tang of early lacto-fermentation starting to build. Textbook.
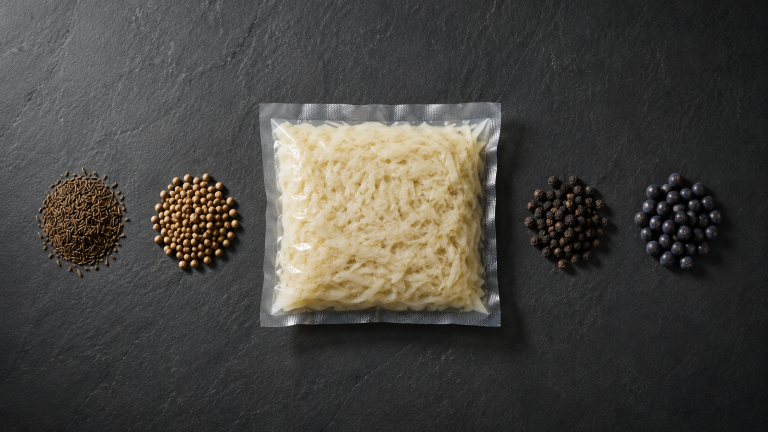
The jar on the right held the same cabbage, same salt percentage, same starting culture. But it had spent three hours inside a chamber vacuum sealer, cycled through a pressure drop protocol, then rested for eighteen hours.
When both were tested for lactic acid bacteria metabolite concentration, the numbers weren’t close. Same ingredients. Radically different result. The variable wasn’t time. It was pressure physics.
I’ve spent twenty years in professional kitchens understanding why technique produces different results from the same ingredients. This was one of the clearest demonstrations I’ve run.
The mechanism: what pressure actually does to a cell
Traditional lacto-fermentation depends on osmotic stress. Salt draws water out of plant cells, creating brine. Lactobacillus species colonise that brine, consume sugars, and produce lactic acid, acetic acid, and a range of secondary metabolites including short-chain fatty acids (SCFAs) like butyrate and acetate. The process works. It has worked for thousands of years.
The rate-limiting step is substrate accessibility. Intact plant cell walls, primarily composed of cellulose, hemicellulose, and pectin, act as physical barriers. Microbial enzymes have to work through or around these structures to access fermentable sugars. In an airlock jar at atmospheric pressure, this is a slow, sequential process. The bacteria colonise the surface, work inward, and the fermentation proceeds in concentric layers over days.
Chamber vacuum fermentation changes the physics of that first step.
When a chamber vacuum sealer drops internal pressure to approximately 25-30 mmHg, the gas inside plant cell vacuoles expands rapidly and escapes. When pressure is restored, either to atmospheric or slightly above, liquid is forced into those now-evacuated spaces under differential pressure. This is called vacuum impregnation, and it has been studied extensively in food processing research.1,2
The practical consequence: the brine, along with any active starter culture or wild Lactobacillus, is driven inside the plant tissue, not just around it. Fermentation doesn’t work inward from the surface. It starts simultaneously throughout the substrate.
The downstream effects follow directly from the physics:
Metabolite concentration. Research on substrate accessibility in LAB fermentation confirms what the mechanism predicts. A 2023 study in Biotechnology for Biofuels and Bioproducts demonstrated that when bacterial access to intracellular sugars is increased, the same LAB strains show significantly improved fermentation quality, acid production, and metabolite output compared to surface-only fermentation.3 Vacuum impregnation achieves the same substrate accessibility, but through pressure physics rather than enzymatic intervention.
Bioavailability. Disrupted cell structure means the metabolites produced aren’t locked inside intact cells. They’re present in the brine and partially liberated from the matrix. Your gut doesn’t have to do as much mechanical and enzymatic work to access them.
Microbial efficiency. When bacteria have direct access to intracellular sugars, they don’t spend metabolic energy producing enzymes to breach cell walls. More substrate goes to fermentation products, less to structural digestion. The ratio of metabolite output per unit of bacterial activity shifts significantly.
The airlock jar isn’t doing anything wrong. It’s just working with one hand tied behind its back.
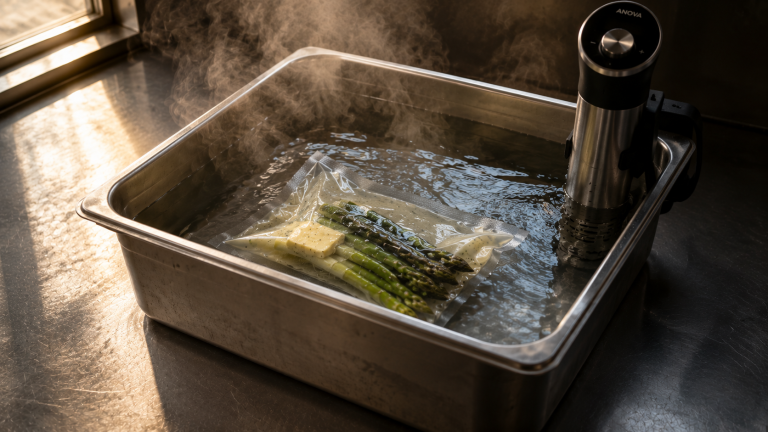
The protocol: running a chamber vacuum fermentation cycle
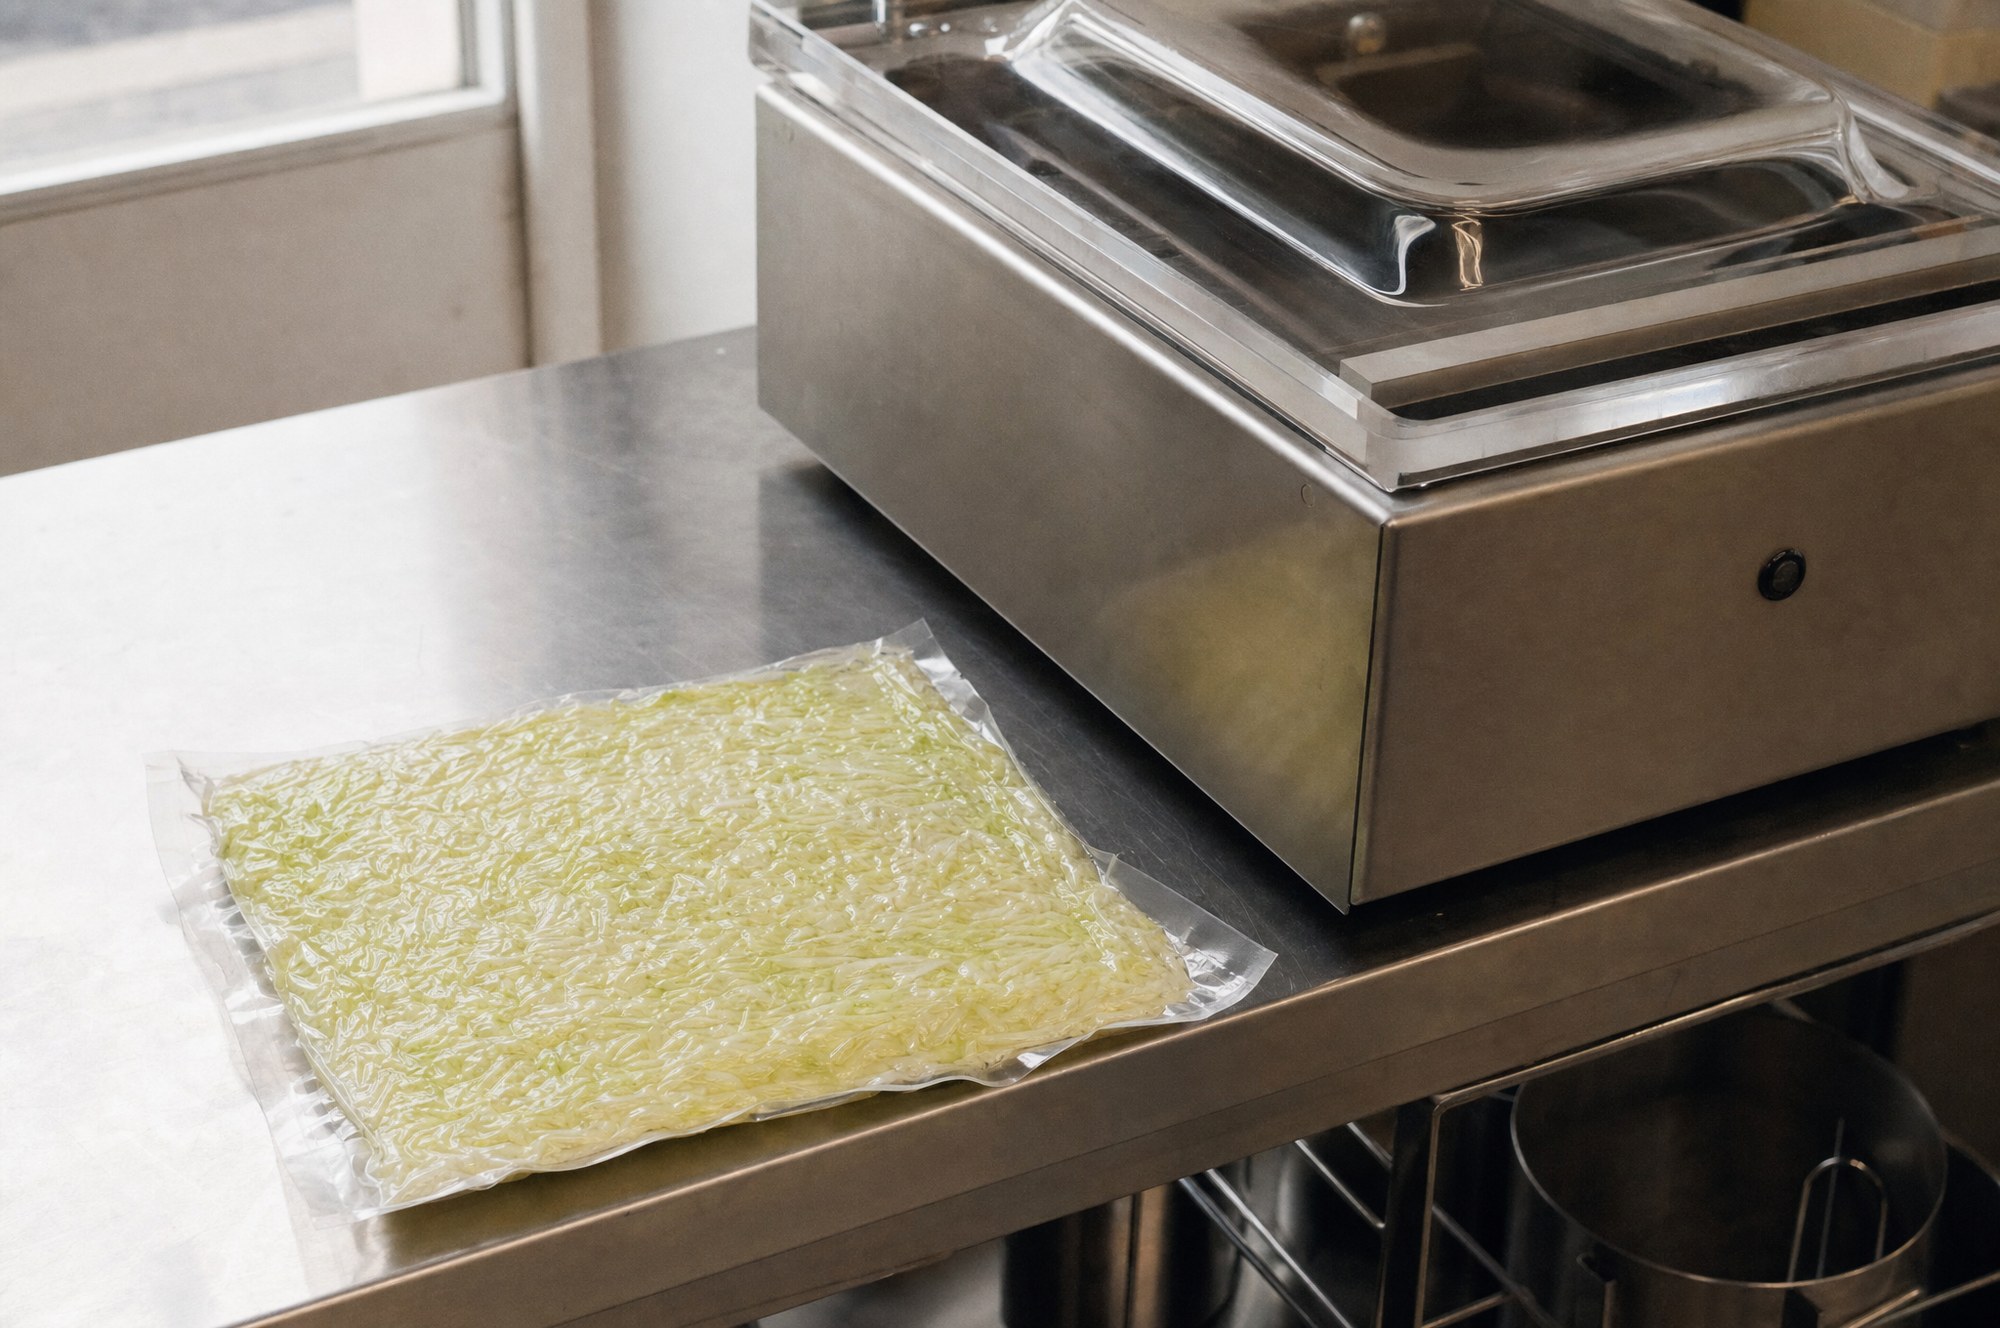
You need a chamber vacuum sealer, not an edge sealer. Edge sealers (FoodSaver-style) cannot achieve the pressure drop required for impregnation. They pull air from the bag. A chamber machine cycles the entire internal atmosphere.
Equipment: – Chamber vacuum sealer (models from Henkelman, VacMaster, or equivalent) – Vacuum-rated pouches or rigid containers with vacuum-compatible lids – Digital scale accurate to 1g – pH strips or meter (optional but recommended)
Salt ratio: 2% by weight. Weigh your prepared vegetable, multiply by 0.02. This is non-negotiable. Below 1.5% you risk pathogen proliferation. Above 3% you inhibit Lactobacillus activity.
The cycle:
- Combine your prepared vegetable and salt in the chamber. Do not seal the pouch yet if using pouches. You want the brine accessible during the pressure cycle.
- Run a vacuum cycle to approximately 25-30 mmHg. Hold at that pressure for 30 seconds.
- Release pressure back to atmospheric. You will see liquid and small bubbles displaced from the vegetable tissue. This is the impregnation event.
- Repeat the cycle 3-5 times. Each cycle drives more brine deeper into the substrate.
- Seal the pouch or container under moderate vacuum (not full, you want some headspace for CO2 production).
- Rest at 18-22°C for 12-24 hours for a lightly fermented product, or 48-72 hours for a more developed flavour and higher acid concentration.
What you’re watching for: pH should drop to below 4.6 within 24 hours in a well-executed chamber ferment. At that point, the environment is hostile to pathogenic bacteria and the product is stable. In a traditional airlock ferment, reaching pH 4.6 reliably takes 3-5 days under the same temperature conditions.
Starter culture or wild ferment? Both work. If you’re using wild fermentation, the vacuum impregnation drives ambient Lactobacillus (present on the vegetable surface) into the substrate simultaneously with the brine. If you’re using a starter culture, dissolve it in the brine before cycling. The pressure does the inoculation work for you.
Tasting note: Chamber ferments tend to produce a cleaner, sharper acid profile early. The complexity that develops over longer traditional ferments, the deeper umami and ester notes, takes longer to develop. This isn’t a flaw. It’s a different point on the same curve.
Where this fits
Understanding fermentation physics opens a specific question: if substrate accessibility determines metabolite output, what else in the kitchen is limiting bioavailability before food even reaches the plate?
The same pressure mechanics that drive brine into cabbage cells can be applied to marinades, stocks, and extraction processes. The vacuum impregnation principle doesn’t care what you’re moving. It responds to differential pressure and the physical properties of whatever substrate is in the chamber.
The next Field Note covers exactly that: how chamber vacuum techniques applied to stock and broth production change the mineral and amino acid profile of the finished liquid, and why the stovetop simmer has a structural limitation that no amount of time can fully compensate for.
If you want to start applying this at home, the Neutral Base Method is the simplest entry point. It covers the core protocol, salt ratios, and timing in a single guide. You can find it here.
▶ References
- Fito P, Chiralt A. Osmotic dehydration: an approach to the modelling of solid food-liquid operations. Food Engineering 2000. 1994. DOI: 10.1016/0260-8774(94)90037-x
- Fito P, Chiralt A. Transport mechanisms in osmotic dehydration: the role of the structure. Food Science and Technology International. 2003;9(3):179-186. DOI: 10.1177/1082013203034757
- Du Z, Yamasaki S, Oya T. Cellulase-lactic acid bacteria synergy action regulates silage fermentation of woody plant. Biotechnology for Biofuels and Bioproducts. 2023;16(1). DOI: 10.1186/s13068-023-02368-2

Field Notes Weekly
One Field Note. Every Monday. Mechanism first, no wellness language.